How to use
Learn it in 30 seconds.
Lightning has one main idea: number keys arm tracks, Space plays. Here's everything you need to get going. Press F1 or the ? button in the app to see these steps again.

Quick start
Before you begin, open Preferences → Audio (Ctrl+,) and select your audio interface and input. Switch on MON in the transport bar to hear your guitar through Lightning while you play.
Set the BPM
Click the amber BPM display at the bottom of the screen and type a tempo, or hover over it and scroll. Click BARS to choose how long each loop is: 4, 8 or 16 bars.

Arm a track with its number key
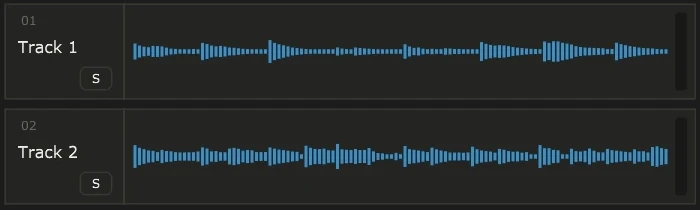
The number row is your track grid: 1–9, 0, - and = are tracks 1–12. Press the number of an empty track and it turns red (ARM). You can also click the track, or press R to arm the next empty one.
Hit Space and play
Press Space. You get a four-beat count-in, then Lightning records exactly one loop. When the loop ends, recording stops on its own and playback carries on looping what you just played.
Stack the next layer
There are two ways to add the next part:
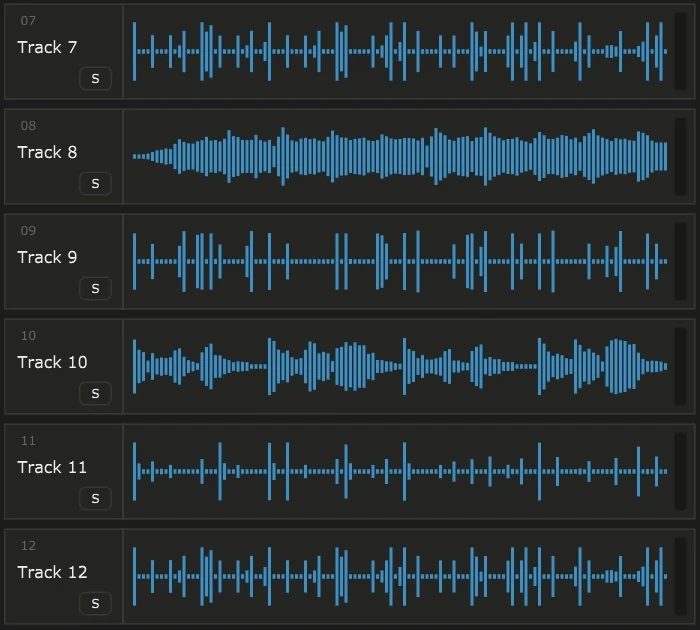
On the fly: while it's playing, press another track's number. It arms straight away and starts recording at the top of the next loop. Keep going for as many layers as you like.
Fresh take: press Space to stop, press a track number to arm it, then press Space again to record with a new count-in.
Mute and unmute
Once a track has audio, its number key mutes and unmutes it. That's how you try out combinations: drop the drums, bring in the lead, take out the rhythm guitar.
Patterns
A pattern remembers which tracks are muted. The recordings are the same in every pattern; only the mix changes.
Make a pattern for each section
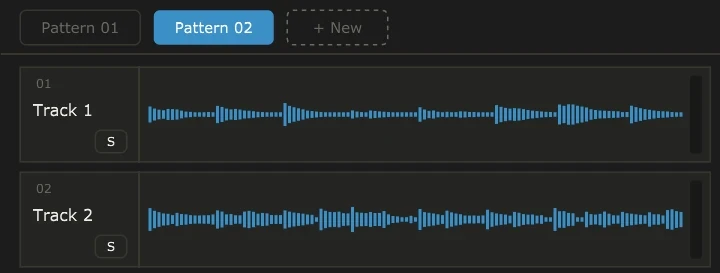
Press Ctrl+N to make a new pattern from the current mix, then mute and unmute tracks to shape it. Double-click a pattern pill to rename it, for example "Verse" or "Chorus".
Switch patterns with Alt+1–0 (changes at the end of the loop), Shift+1–0 (changes now), or [ and ] for previous and next.
Arrange the song
Open ARRANGE (Ctrl+2). Drag patterns from the library into the song sequence in the order you want. Right-click a block to duplicate or remove it, then press Space to hear the whole song.
Export to Ableton
Press Ctrl+E
Choose a folder and click Export. Lightning writes an Ableton Live Set with one scene per pattern and one clip for each unmuted track, using your track names and tempo. The WAV files are copied next to it, so you can open the set in Ableton Live and carry on.
Handy shortcuts
You can change any of these in Preferences → Shortcuts.
| Keys | What it does |
|---|---|
| Space | Play / stop (records if a track is armed) |
| 1–0 - = | Tracks 1–12: arm when empty, mute / unmute when recorded |
| R | Arm the next empty track |
| M | Metronome on / off |
| . Home | Stop / Rewind |
| Ctrl+N | New pattern |
| Alt+1–0 | Switch pattern at the end of the loop |
| Shift+1–0 | Switch pattern now |
| [ ] | Previous / next pattern |
| Ctrl+Z Ctrl+Y | Undo / redo |
| Ctrl+S or + | Save |
| Ctrl+E | Export to Ableton |
| N | Moodboard & notes panel |
| Ctrl+P 1 2 3 | Projects / Record / Arrange / Mixer |
| F1 | Show the quick-start help |